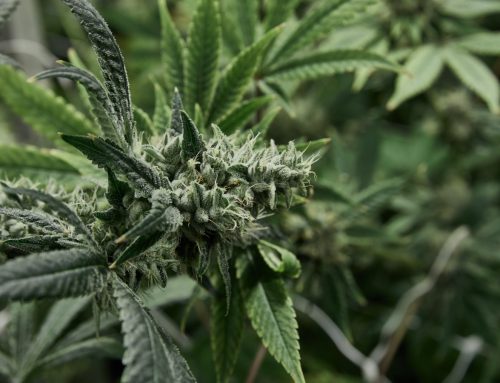
It’s the same question asked by thousands of newcomers to cannabis cultivation. That being, why is it that experienced growers ‘cure’ their harvested cannabis buds?
The short answer – curing is necessary to ensure that the cannabis flowers achieve their peak in terms of both quality and potency. Even if you produce the most outstanding buds imaginable with truly outstanding genetics, curing is what makes the difference between a final product that’s decent and award-worthy.
In a little more detail, there are a number of reasons why it is important (some might say essential) to properly cure buds after harvesting, which include the following:
- The curing process can have a massive beneficial impact on smoothness and taste.
- It also eliminates or at least reduces the grass/hay smell associated with fresh cannabis.
- Harshness can be reduced significantly by curing, which can in turn reduce coughing.
- Evidence would seem to suggest that the curing process can also reduce the likelihood of paranoia and anxiety when the buds are consumed.
- Proper curing significantly lowers the risk of bacteria or mould destroying your buds.
- Handled correctly, curing can take the overall potency and quality of your cannabis to a much higher level.
For the most part, curing is about making changes to your cannabis buds that are largely superficial. That being, changes that affect things like taste, smoothness, fragrance, hand-feel and so on. But at the same time, the curing process can also have an impact on the kind of high you can expect upon consuming cannabis. Hence it is something of an all-round effort to improve the cannabis you grow and harvest, meaning you might want to take it seriously!
Drying & Curing Marijuana
So of course, the question that follows is that of how exactly should you go about the drying and curing process? Assuming you have no prior experience, it can be an understandably daunting concept. On the plus side, just as soon as you’ve mastered the basics, you’ll find it so much easier the second time around. Not to mention, the third, fourth, fifth and so on.
Without getting too bogged down with the science of it all or the many thousands of variations some show preference to, the basics of drying and curing look a little like this:
Step 1: Trim Your Plants
First up, you are going to need to take your cannabis plants to pieces in one way or another. Some will tell you it’s best to chop the whole plant at its base and hang the whole thing upside down to dry, others suggest cutting off individual buds and that there are those who prefer to remove the branches one by one. In reality, there really isn’t a right or wrong way of going about the process. You can pretty much trim your plants in whatever way suits you best, just as long as you don’t damage to your buds along the way.
Step 2: Remove Extra Fan Leaves
The next step is to get rid of all those bigger leaves that from this point on will be of absolutely no use to you. If you want to take things one step further, you can also pay attention to the buds themselves and get rid of as many of those tiny little sugar leaves you can see as possible. Doing so will not only make your buds pretty to look at, but can also remove the harshness associated with dry leaf matter still present when the buds are burned. That said, some of these leaves may be coated in a liberal frosting of the good stuff, which you might not want to waste. As such, the whole thing about trimming leaves and to what extent you do so is a matter of personal preference. Just be sure to wear disposable gloves while going about the trimming process, otherwise you’ll end up with hands too sticky to work with.
Step 3: Begin the Drying Process
There are various methods by which it is technically possible to speed up the cannabis drying process. Ovens, microwaves, excessively hot rooms and so on – all the kinds of things that can destroy your cannabis in a heartbeat, if you do it. Hence why experts across the board recommend a slow drying process to get the job done properly. You should be looking for a room temperature of approximately 70° F, along with the humidity level at around 50%. If struggling to maintain this balance, invest in the required humidifier, dehumidifier, heater or whatever’s needed to get it right. Be warned – even if the temperature creeps just 10° F in the wrong direction, it could have a seriously adverse effect on the final product. There are various options when it comes to positioning your branches and buds, but the best approach is the classic – simply hang them upside down and ensure they have plenty of space around them for air to circulate.
Step 4: Take Down When Dry
There’s an easy test to determine exactly when your cannabis buds are sufficiently dry. The outsides of the buds themselves should feel dry when you touch them, the thicker stems should still be somewhat bendy while the smaller stems should snap when bent. This indicates you’ve hit the sweet-spot and can take your buds down.
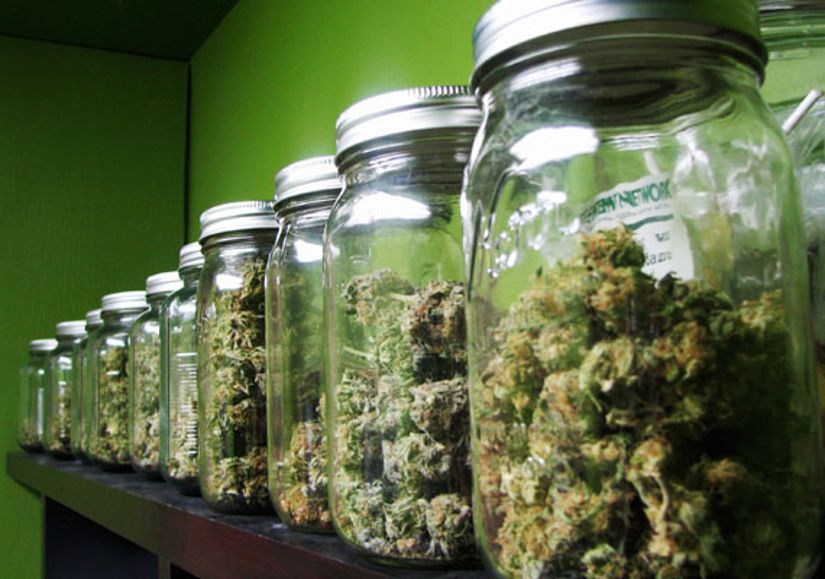
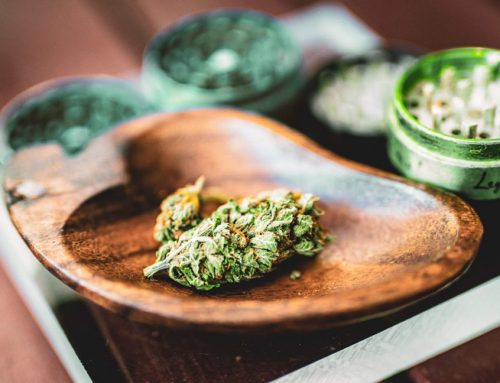
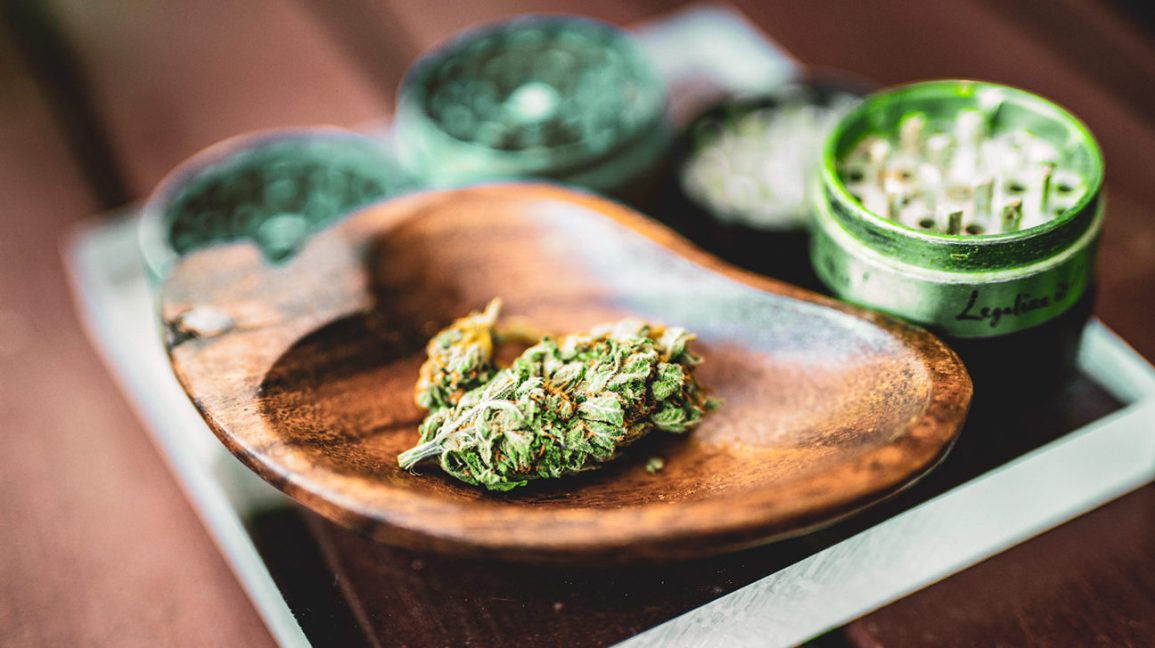
Step 5: Place Your Buds in Jars
After this, it’s simply a case of placing your buds in immaculately clean jars of a sufficient size. Make sure you leave at least 25% of the jar empty, in order to avoid overcrowding and maintain air quality. When you place your buds in your jar, humidity should be at around the 60% mark and it’s important to keep the temperature around the same 70° F. Seal the jars tightly and position them somewhere with the required temperature and humidity balance.
Step 6: Open Regularly to Inspect
During the first few days, it is important to open every jar at least once or twice daily. The process, referred to by some as ‘burping’ the jars – allows fresh air to enter and balances the humidity within the jars once again. This will also give you the opportunity to see how things are going, taking note of any problems like mould that may occur if humidity levels are too high. Buds during the curing process need a good amount of fresh air, so be rigorous with this part of the process for a few days at least.
Step 7: Hold Your Patience As Long As Possible
Last but not least, it’s technically only necessary to cure cannabis buds for approximately 2 to 3 weeks to produce a high quality final product. By this time, there really will be a noticeable difference. However, if you can hold out just a little longer, giving your buds 6 to 8 weeks will take quality and potency to an even higher level. In fact, there are many strains that just keep on getting better and better with six or more months of curing. It’s just a case of keeping a close eye on things along the way, while at the same time having the patience to hold out.
That said, there’s nothing to say you can’t sample the odd nugget along the way…simply for research purposes, of course!

